
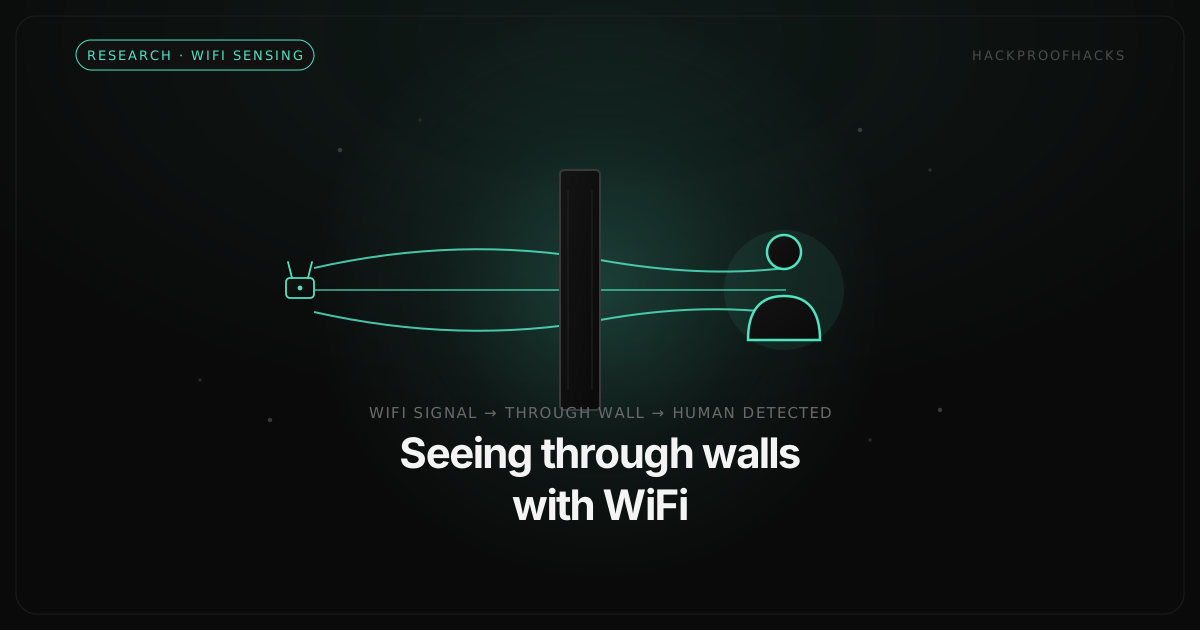
Seeing Through Walls With WiFi: The Tech Behind the Scene, and How to Build It
You have probably seen the scene. Someone points a laptop at a wall, taps a key, and a glowing wireframe skeleton of the person in the next room appears on screen. No camera. No sensor stuck to anyone. Just the WiFi that was already in the building. It plays like science fiction.
It is not. Every part of that idea is grounded in real, published research, and the core of it (detecting a human being through a wall using nothing but ordinary WiFi) is something you can build yourself for the price of a takeaway meal. This article explains the actual physics behind the scene, then walks through a hands-on build with a cheap ESP32 that detects presence, motion, and even breathing rate through a wall. It also tells you the honest truth about the glowing skeleton, which is the one part the shows quietly exaggerate.
Before you build anything here: this is a through-wall human-sensing device. Depending on where you live and where you point it, using it can break wiretapping, surveillance, or privacy laws, and aiming it at people who have not consented is a serious ethical problem regardless of the law. Build it and use it on yourself, in a space you control, with the consent of everyone in it. Everything below assumes exactly that. There is a full section on the legal and ethical side near the end, and it is not optional reading.
Why WiFi can “see” you at all
Start with the wavelength. WiFi at 2.4 GHz has a wavelength of about 12.5 cm:
λ = c / f = (3 × 10⁸ m/s) ÷ (2.4 × 10⁹ Hz) ≈ 0.125 mThat number is the whole story. Anything that moves by a fraction of 12.5 cm changes the radio path in a way a sensitive receiver can measure. Your whole body walking across a room is an enormous change. Your chest rising a centimetre as you breathe is a small but very detectable one.
Three physical effects do the work:
- Reflection: your body is mostly water, and water reflects 2.4 and 5 GHz radio like a soft, moving mirror.
- Absorption: tissue attenuates the signal, casting a faint “radio shadow” behind you.
- Multipath: the receiver hears the direct signal plus dozens of reflected copies arriving at slightly different times and phases. It listens to the sum of all of them. Move your body and you change how those copies add up.
And the reason walls do not stop any of this is the same reason your WiFi works from the next room in the first place: drywall, wood, glass, and even brick are largely transparent at these frequencies. Light stops at the wall. Radio does not.
RSSI is not enough: you need CSI
Here is the catch that separates a toy from the real thing. Every WiFi chip reports RSSI, the Received Signal Strength Indicator: one number, the total power. RSSI can tell you “something changed,” but it is coarse and noisy, and you will never get breathing out of it.
Modern WiFi (802.11n and later) uses OFDM, which splits each channel into around 52 to 56 narrow subcarriers, each a slightly different frequency. To decode data, the receiver has to estimate how the channel distorted each subcarrier. That estimate is Channel State Information (CSI), and for every packet it gives you a vector of complex numbers:
H[k] = a_k · e^(jφ_k) for each subcarrier k = 1 … Na_k is the amplitude on subcarrier k: how much that frequency was attenuated. φ_k is the phase: how much it was delayed. Put together, CSI is a roughly 52-dimensional fingerprint of the room’s radio environment, delivered 20 to 100 times every second. That richness is what takes you from “someone is here” to “they are breathing at 14 breaths a minute” and, with enough hardware, all the way to a body pose.
The problem is that almost every consumer WiFi chip throws CSI away. The ones that expose it are a short list:
- ESP32-S3 / C5 / C6: cheap, hackable, and the basis of this build.
- Intel 5300: the classic research NIC, via the Halperin CSI Tool.
- Nexmon-patched Broadcom chips: some Raspberry Pi boards and older phones.
For a first build, one or two ESP32-S3 boards are the sweet spot: about eight dollars each, USB-powered, and well supported.
What you actually need
The minimum viable build is genuinely cheap:
- 1 × ESP32-S3 dev board (~$8) as the receiver.
- A USB cable and a computer.
- Any WiFi router you already own as the transmitter.
That is enough for presence, motion, and, with a little patience, breathing on a single link. If you want noticeably cleaner signals, add a second ESP32 as a dedicated transmitter that blasts packets at a fixed rate. A steady packet stream is the single biggest quality lever in the whole project, because every packet is one CSI sample, and irregular traffic means an irregular, harder-to-analyse signal.
Physical layout matters more than people expect. Put the person between the transmitter and receiver for the cleanest breathing signal, keep the receiver dead still on a non-metal surface, and start on 2.4 GHz rather than 5 GHz because it penetrates walls better.
Step 1: Turn the ESP32 into a CSI sensor
The firmware has one job: connect to your WiFi as a station, turn on CSI collection, and print every measurement over USB. The ESP-IDF WiFi API exposes CSI through a callback that fires on each received packet. The heart of it looks like this:
// Enable CSI and register a callback for every received packet
static void enable_csi() {
  wifi_csi_config_t csi_cfg = {};
  csi_cfg.lltf_en        = true;   // legacy long training field
  csi_cfg.htltf_en       = true;   // HT long training field
  csi_cfg.stbc_htltf2_en = true;
  csi_cfg.ltf_merge_en   = true;
  csi_cfg.channel_filter_en = false;
  csi_cfg.manu_scale     = false;

  esp_wifi_set_csi_config(&csi_cfg);
  esp_wifi_set_csi_rx_cb(&wifi_csi_cb, NULL);
  esp_wifi_set_csi(true);
}

// Runs for every packet that carries CSI
void wifi_csi_cb(void *ctx, wifi_csi_info_t *info) {
  const int8_t *data = info->buf;      // interleaved (imag, real) int8 pairs
  Serial.print("CSI,");
  Serial.print(info->rx_ctrl.rssi); Serial.print(',');
  Serial.print(info->len);          Serial.print(',');
  for (int i = 0; i < info->len; i++) {
    Serial.print((int)data[i]);
    if (i != info->len - 1) Serial.print(' ');
  }
  Serial.print('\n');
}
One subtlety: to get CSI, the ESP32 has to receive packets, which means the router has to send it some. The trick is to make the board periodically ping the gateway so there is a steady stream of traffic, and therefore a steady stream of CSI, coming back. Flash that with the Arduino ESP32 core, open the serial monitor at 921600 baud, and you will see a river of CSI,... lines, each one a snapshot of the room’s radio state.
Step 2: From CSI to presence and motion
This is the easy, robust part, and it needs no machine learning at all, just signal processing. For each packet, take the amplitude vector across subcarriers. Track it over a sliding window of the last second or two. Then reason about its variance:
- A still, empty room only jitters from thermal noise, so variance is low.
- A moving body injects large, broadband variance across every subcarrier.
So the motion score is essentially the average temporal variance of the amplitudes, measured against a slowly adapting baseline for the quiet room. In Python it is only a few lines of the core idea:
# normalise out per-packet gain, then measure variance over the window
norm = amplitude / (amplitude.mean() + 1e-9)
window.append(norm)
variance = np.mean(np.var(np.vstack(window), axis=0))
motion = max(0.0, (variance - quiet_baseline) / (quiet_baseline + 1e-6))
The one design decision that makes this feel real is separating motion from presence. A person can be present but sitting perfectly still, which produces almost no broadband motion. So instead of reading “empty” the moment someone stops moving, you let any motion refill an “occupancy” bucket that then drains slowly over several seconds. Brief stillness no longer reads as an empty room. And, as we are about to see, a still person is rarely truly silent, because they are still breathing.
Step 3: From CSI to breathing, the genuinely magical part
This is the part that makes people’s jaws drop, and it is completely real. Breathing is a periodic chest movement at roughly 0.15 to 0.5 Hz, which is 9 to 30 breaths per minute. It shows up as a tiny sinusoid riding on top of some subcarriers’ amplitude. The pipeline to extract it:
- Pick the best subcarrier. A person’s chest does not couple equally to every subcarrier, so choose the ones with the strongest periodic energy in the breathing band.
- Detrend to remove slow drift from the body shifting or the radio’s automatic gain control.
- Band-pass filter to roughly 0.1 to 0.6 Hz to isolate breathing.
- FFT over a 20 to 40 second window and find the dominant peak.
- Convert the peak frequency to breaths per minute.
The last step is beautifully simple:
a 0.25 Hz peak → 0.25 × 60 = 15 breaths per minuteThere is one trap worth knowing about, because it is exactly the kind of thing that separates a demo that works from one that lies to you. A single FFT window will often show a “peak” even in an empty room, just from noise. The fix is to require temporal stability: a real breathing signal holds its frequency across many windows, while a noise peak wanders. Weight your confidence by how stable the detected rate is over time, and the false positives largely disappear. In a working build, a still, breathing person behind a wall converges to a steady rate within 20 to 30 seconds, and an empty room correctly reports nothing.
Heart rate, at 0.8 to 2.0 Hz, works the same way in a higher band, but the signal is roughly ten times weaker than breathing and usually needs cleaner hardware and multi-antenna phase calibration. Treat it as a stretch goal, not a starting point.
Step 4: The “skeleton,” an honest reality check
Now the part everyone actually wants: the glowing through-wall wireframe. Here is the truth the TV scene glosses over.
Presence, motion, and breathing are deterministic signal processing. They work out of the box, in any room, with one cheap board, because you are measuring physics directly. Full 17-keypoint body pose is a completely different beast: it is supervised deep learning, and it is hard.
The recipe, drawn from Carnegie Mellon’s DensePose From WiFi and MIT’s RF-Pose, goes like this:
- Use multiple antennas. One transmit-receive pair gives you almost no spatial resolution. Real pose systems use several antennas or several nodes to get multiple radio “viewpoints.”
- Collect ground truth. Point an ordinary camera at the scene and run an off-the-shelf vision pose estimator like MediaPipe or OpenPose to auto-label where the person’s joints were in each frame.
- Learn the mapping. Train a neural network to reproduce the camera’s keypoints from the CSI alone.
- Throw the camera away. At inference, the model outputs the body keypoints from WiFi only, including through walls, because radio penetrates them and light does not.
Why it is hard at home: you need synchronised camera and CSI capture to build a labeled dataset of many hours, you need enough antennas for spatial resolution, and, the big one, models trained this way tend to overfit the specific room they were trained in. Published results that once claimed near-perfect accuracy have been walked back precisely because they did not generalise to new environments and new people. So if you ever see a repo promising plug-and-play through-wall skeletons on an eight-dollar board with no training, be very sceptical.
The realistic path is staged: master presence and breathing first (if your CSI is too noisy for breathing, it is nowhere near clean enough for pose), then move to multiple antennas, then build a ground-truth rig, then train. Do the early stages well and the model stage is almost anticlimactic. Skip them and no model will save you.
Defending against WiFi sensing
Because this is a real capability, it is worth turning it around and thinking like a defender, which is the whole spirit of this site. The uncomfortable takeaway is that any WiFi transmitter near you leaks motion and vital-sign information to a capable receiver, and walls do not protect you. That is a genuine privacy consideration for sensitive environments.
The research countermeasures fall into a few buckets:
- CSI obfuscation and randomisation, where the transmitter deliberately scrambles the channel information an eavesdropper would rely on.
- Transmit-power and rate control, reducing how much usable signal leaks in the first place.
- Privacy “jamming,” injecting motion-like noise into the channel so a sensing attacker cannot separate a real person from the decoy.
For genuinely high-sensitivity spaces, though, the only hard guarantees remain the old ones: RF shielding using Faraday techniques, or simply not running WiFi in the space at all. This is the same lesson as everywhere else in security: convenience and observability are two sides of one coin, and the radio that makes your building convenient also makes it observable.
The legal and ethical line
This bears repeating clearly, because it is the part that gets people into real trouble. A device that senses human beings through walls, without their knowledge and without a camera, is a surveillance capability. Depending on your jurisdiction, using it covertly can implicate wiretapping and electronic surveillance laws (many of which require all-party consent), anti-stalking and harassment statutes, privacy torts, landlord-tenant law, and data-protection regimes if you store anything about identifiable people.
The defensible uses are the consenting ones: contactless health monitoring of yourself or a family member who agreed to it, fall detection for an elderly relative, presence-based automation in your own home, and security research to understand and defend against the capability. The simple rule is this: if you would be uncomfortable telling the people being sensed exactly what you are doing, stop. Build it on yourself, learn the physics, and use that knowledge responsibly. If you are new to working ethically in this space, our guide on how to become an ethical hacker is a good grounding.
Key takeaways
- The through-wall WiFi scene is real. WiFi radio passes through walls, your body reflects and absorbs it, and a capable receiver measures the changes.
- RSSI is not enough: you need CSI, the per-subcarrier amplitude and phase, which only some chips (like the ESP32-S3) expose.
- Presence and motion come from the variance of CSI amplitude, and breathing comes from an FFT of a band-passed subcarrier. Both are deterministic signal processing you can build for under ten dollars.
- The body-pose “skeleton” is real but hard: it needs multiple antennas, a camera-labeled dataset, GPU training, and it tends to overfit the room. Be sceptical of anyone claiming otherwise.
- This is a surveillance capability. Use it on yourself, with consent, and understand that WiFi sensing means walls no longer guarantee privacy.
The gap between “science fiction on a screen” and “a thing you built on your desk” is smaller than it looks, and closing it teaches you more about radio, signals, and privacy than almost any other weekend project. If you want to build skills like this with guided, hands-on practice, that is exactly what our training is for. And if you want your own environment assessed for the ways it leaks information, that is what our security assessments do.